
If you're a passionate DIYer, you know the value of creating something customized – something that fits your needs just right. Sometimes you can only get that if you make it yourself!
This most definitely applies to your accessories. Guys and girls alike can relate: messy, tangled, unorganized necklaces, watches, rings, etc make for a terrible start to the day when you're suddenly late and forced to de-tangle your favorite accessory from all the others. How many minutes of your life have you wasted doing this when it could have been organized? Plus, that pile of metal is an eyesore!

Get yourself organized with your very own DIY jewelry organizer!
A study conducted by Personality and Social Psychology Bulletin found that people with cluttered homes, or homes filled with unfinished projects, were more depressed, fatigued and had higher cortisol levels then their counterparts who described their homes as restful and restorative.
Keeping your accessories organized isn't difficult. You'll need a couple simple supplies and of course, your MagnetPAL! This little tool is the key to this DIY project because it allows your DIY jewelry organizer to change as needed. You'll see what we mean.
Here's how to de-clutter your life by creating a DIY jewelry organizer with MagnetPAL.

DIY Jewelry Organizer
MagnetPAL isn’t just handy for craftsmen – everyone can use it!
MagnetPAL is a powerful neodymium magnet that can help you stay organized by becoming a DIY jewelry organizer! You can set it up in your closet, behind your door, on your vanity, or in your bathroom. Wherever there was previously little metal accessories that got tangled, there can now be order!
Let MagnetPAL be your little helper. We’ve come up with a tutorial to help you create your own DIY jewelry organizer so you’ll never have to untangle or lose your jewelry again.
What You'll Need:
Creating your own DIY jewelry organizer is easier than you think. You’ll only need three things to complete this little project.
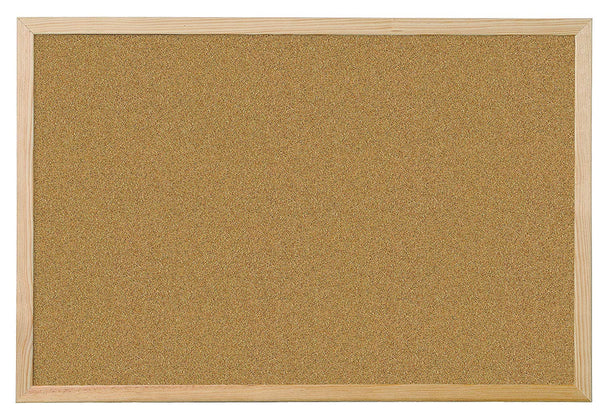
- A cork board – if you’re not a fan of the wooden frame, we suggest spray painting it with the color of your choice. Gold, silver or white might complement your accessories nicely.
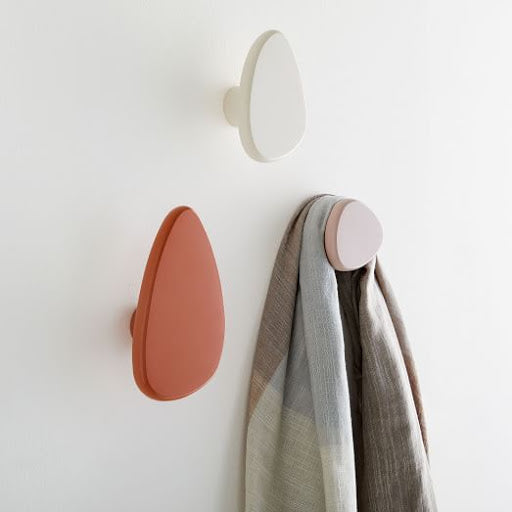
- Varying sizes of metal wall hooks – you’ll need different sizes depending on the type of jewelry you’re going to hang. You’ll need smaller ones for your rings.
- Of course, your MagnetPALs!

What To Do:
Believe it or not, creating a DIY jewelry organizer only requires three simple steps.
STEP 1: Gather and prep all your materials. Paint the frame of your cork board if you want and decide what colors of MagnetPALs you want to use!
STEP 2: Map out where you want to hang your jewelry, and thus where your metal hooks should go. Once you've decided this, place your metal hooks on one side and MagnetPAL at the back of the board, behind each hook, to keep them in place.
STEP 3: The fun part! Now you can decorate your organizer, and customize however you want. After decorating, it’s time to hang your jewelry. Your MagnetPAL can hold anything up to 12lbs, so you can hang more than one piece of jewelry on each hook.
The best part about this organizer is that it can change as your needs evolve. One year long necklaces are in, and the next they're out. You can easily move your hooks without damaging your jewelry organizer since they're held in place with MagnetPALs.
So there you have it! You’ve got yourself a DIY jewelry organizer.
101+ Uses!
We’ve given you a quick tutorial on how you can make your own jewelry organizer with MagnetPAL, but this little gadget is incredibly versatile. There’s no limit to how you can use it. Tell us how you use your MagnetPAL to get featured on the Magnetic Blog!